
INSTALLATION INSTRUCTIONS FOR LEATHER WRAPPING PLASTIC TOP:
If you purchased one of our 1.5oz Black Leather Discs, please follow these simple How-To instructions to apply the leather onto the new Top Golf Ball Half.
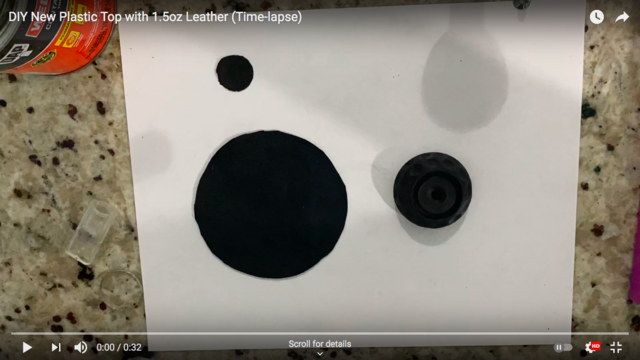
Step 1. Apply adhesive, we use DAP Weldwood Contact Cement, to the leather disc and new plastic golf ball half. Be sure to get all the dimples and the inner edge of the plastic half.
Step 2. Place the plastic top on the middle of the leather disc. Let it sit for a bit until the adhesive becomes glossy and tacky (follow the instructions on the adhesive product).
Step 3. Work your way around the piece. Pulling the leather and tucking it under. Fold each pulled excess leather section on top of the previous one under the bottom edge.
Step 4. Once fully wrapped, press in each of the dimples using your finger tips.
Step 5. Using a sharp craft knife, carefully cut out the top hole. The hole you cut out should be the size of the smaller inner top circle where the screw goes. There should be a leather edge left over that will need to be folded into the top channel.
Step 6. Press in the leather edge onto the top channel using something that will not scrape or damage the leather. We have a metal ring that we insert to press in the leather edge.
Step 7. Install the freshly wrapped top golf ball plastic half onto the aluminum shifter base and secure it with the allen screw. Press in the dimples again.
Step 8. Let it sit for a few more minutes until the adhesive is fully cured (refer to the instructions on the adhesive product) and you're done!